UI Automation
The implementation of the UI Automation Specification in Windows features Component Object Model (COM)-based interfaces and managed interfaces.
UI Automation is broader in scope than just an interface definition. It provides:
- An object model and functions that make it easy for client applications to receive events, retrieve property values, and manipulate UI elements.
- A core infrastructure for finding and fetching across process boundaries.
- A set of interfaces for providers to express the tree structure, general properties, and functionality of UI elements.
- A “control type” property that allows clients and providers to clearly indicate the common properties, functionality, and structure of a UI object.
UI Automation improves on Microsoft Active Accessibility by:
- Enabling efficient out-of-process clients, while continuing to allow in-process access.
- Exposing more information about the UI in a way that allows clients to be out-of-process.
UIAutomation For Python
The module is for automating on Windows(Windows XP with SP3, Windows Vista, Windows 7 and Windows 8/8.1/10). It supports UIAutomation for the applications which implmented UIAutomation Provider, such as MFC, Windows Form, WPF, Modern UI(Metro UI), Qt(Partly), Firefox, Chrome and Electron based apps.
install uiautomation via pip:
Microsoft UIAutomation Minimum supported client: Windows 7, Windows Vista with SP2 and Platform Update for Windows Vista, Windows XP with SP3 and Platform Update for Windows Vista [desktop apps only]
Microsoft UIAutomation Minimum supported server: Windows Server 2008 R2, Windows Server 2008 with SP2 and Platform Update for Windows Server 2008, Windows Server 2003 with SP2 and Platform Update for Windows Server 2008 [desktop apps only]
Inspect & Inspector
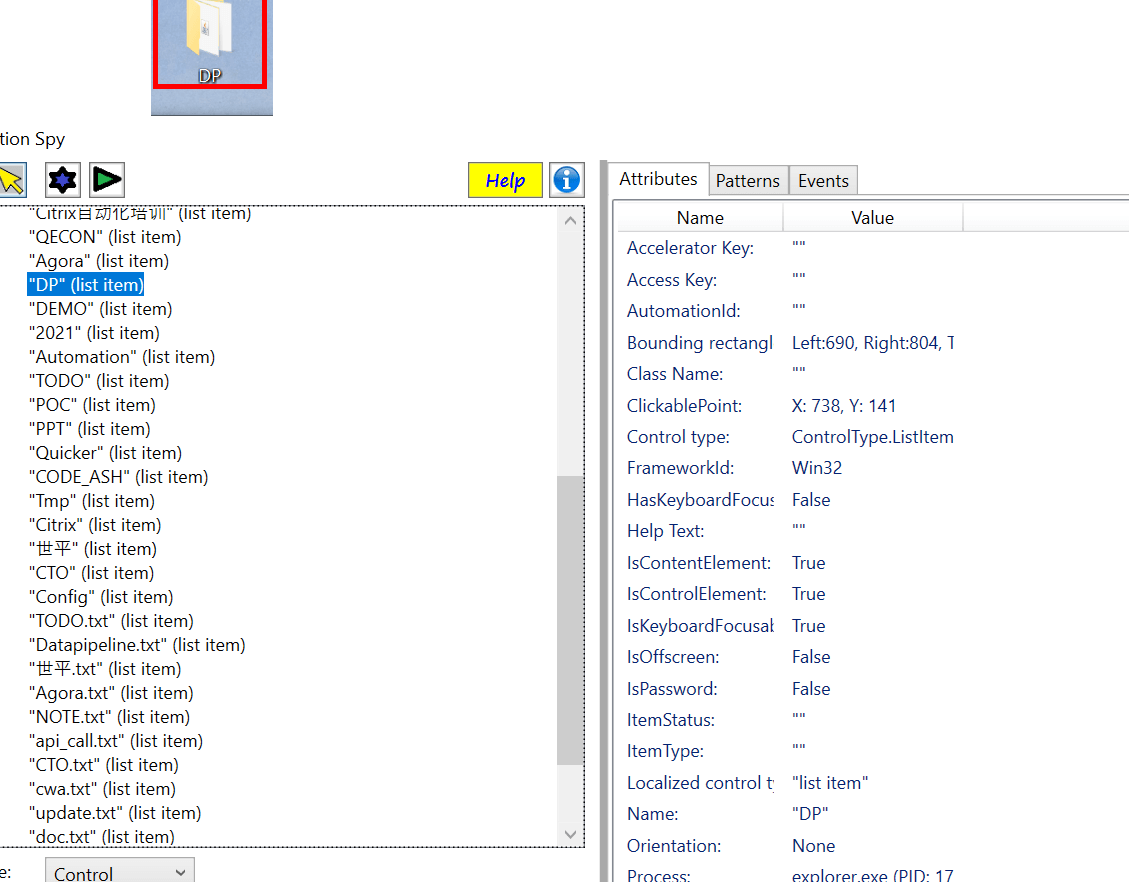
You can use a tool named “AutomationSpy” to generating the locator identifiers and properties for any element on the screen. First, launch the AutomationSpy app manually using. If you hold the ctrl key on your keyboard down for about three seconds, AutomationSpy will find the locator infomations to select whichever element your mouse pointer is currently hovering over. It shows the identifiers and properties, so you can choose the properties and paste it into your test code.


